Paper weaving is a delightful craft that transforms simple sheets of paper into intricate, textured artworks. By interlacing strips of paper, you can create vibrant patterns suitable for various projects, from greeting cards to wall art.
Creative Tools for Paper Weaving: Strip Shredders and Pasta Makers
What is Paper Weaving?
The origins of weaving trace back to ancient civilizations, where it was primarily used for creating textiles. Over time, artisans began experimenting with different materials, including paper, to produce decorative and functional items. Today, paper weaving is cherished for its accessibility and versatility, making it a popular choice for art projects, DIY crafts, and educational activities.
Engaging in paper weaving offers numerous benefits. It’s an excellent way to develop fine motor skills, especially for children, and serves as a creative outlet for individuals of all ages. The materials required are minimal and often readily available, making it an affordable hobby.
To get started with paper weaving, you’ll need:
- Paper: Colored construction paper, patterned scrapbook paper, or recycled magazine pages work well.
- Cutting Tools: Scissors or craft knives for slicing paper into strips.
- Ruler and Pencil: For measuring and marking cutting lines to ensure uniform strips.
- Adhesive: Glue sticks or double-sided tape to secure the ends of the woven paper.
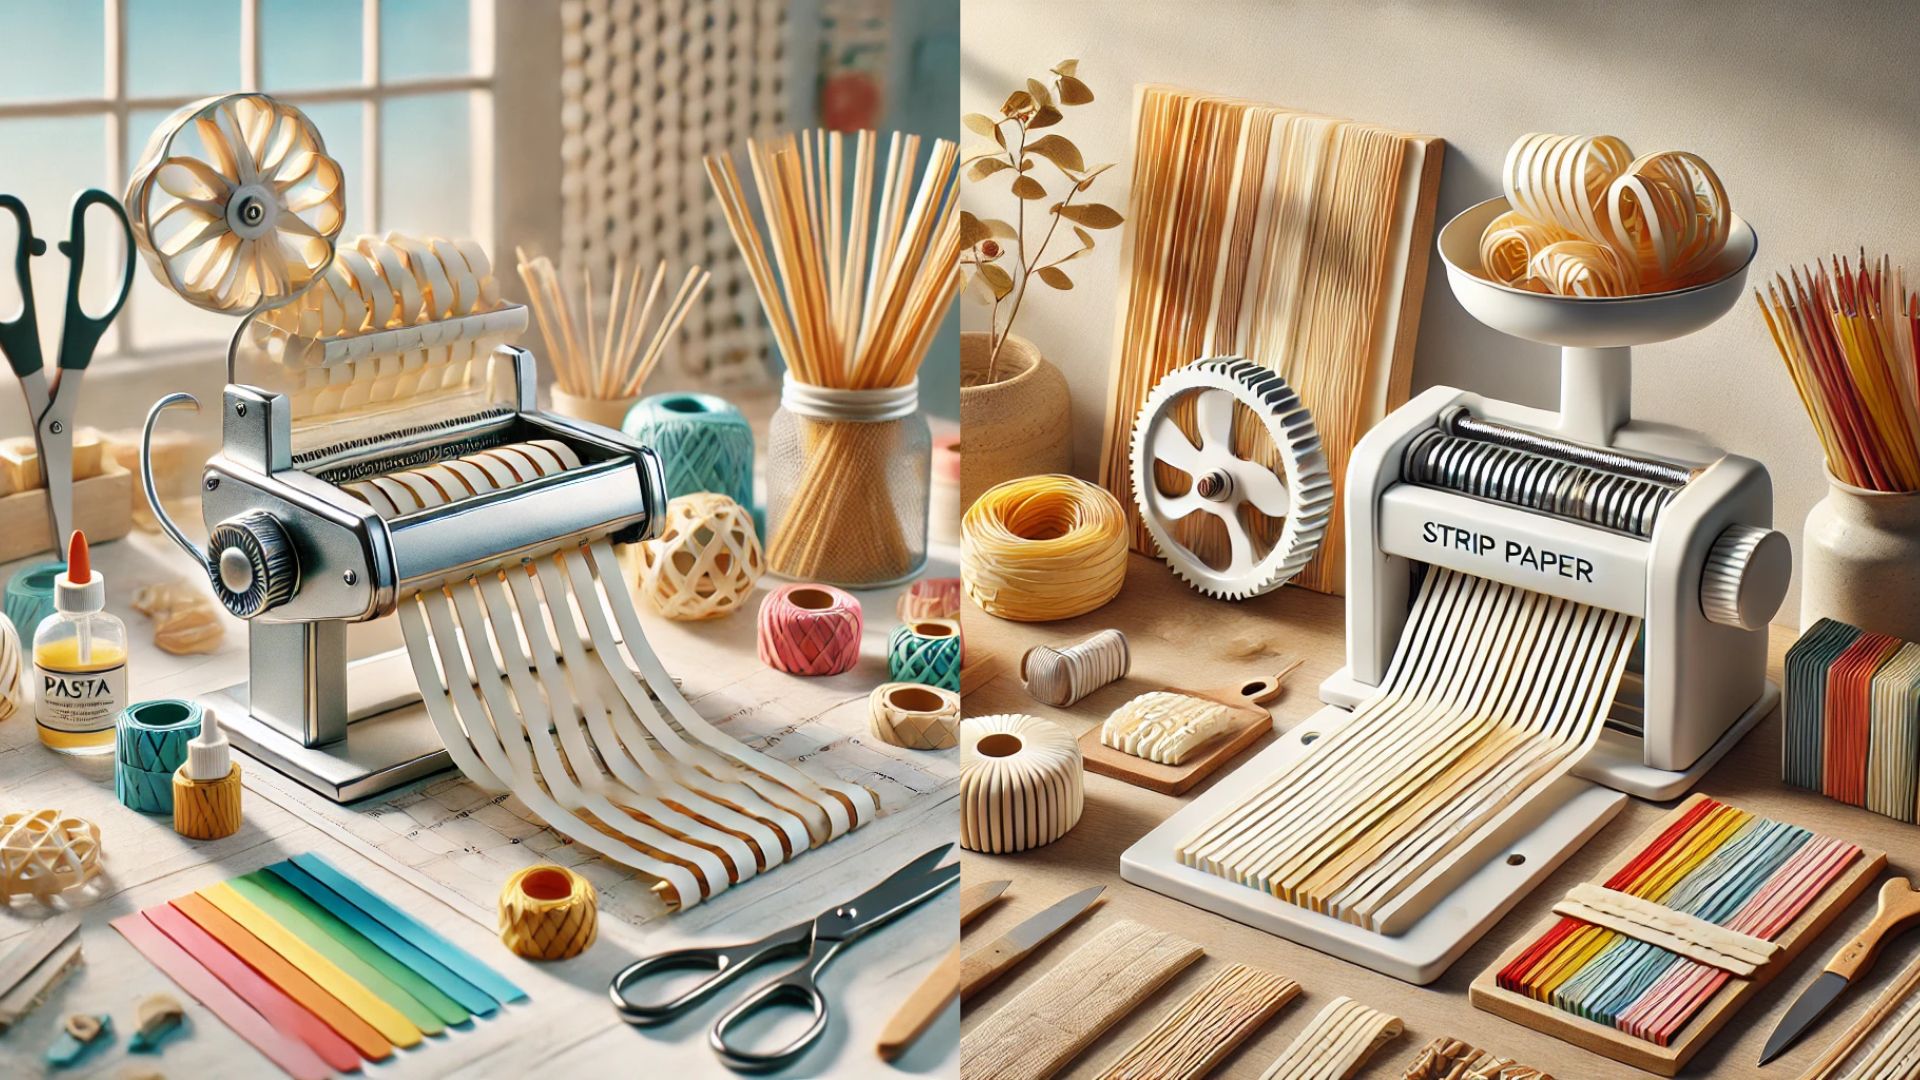
Traditionally, cutting paper strips by hand can be time-consuming and may result in uneven edges. However, innovative crafters have adopted tools like strip paper shredders and pasta makers to streamline the process.
A strip paper shredder can produce uniform paper strips quickly, while a pasta maker, typically used for rolling and cutting dough, can be repurposed to slice paper into consistent widths. These unconventional tools enhance precision and efficiency in paper weaving projects.
Incorporating these tools into your crafting arsenal can elevate your paper weaving, allowing for more intricate designs and a more enjoyable creative experience.
Why Use Tools for Paper Weaving?
Embarking on a paper weaving project is both enjoyable and rewarding. However, achieving consistent and precise paper strips can be a challenge, especially when cutting by hand. This is where specialized tools come into play, offering several advantages:
Benefits of Using Tools for Paper Weaving
- Precision in Cutting Strips: Tools like strip paper shredders and pasta makers ensure uniform strip widths, resulting in a neater and more professional appearance in your woven creations.
- Time-Saving for Larger Projects: Manually measuring and cutting numerous strips can be time-consuming. Utilizing these tools accelerates the preparation process, allowing you to focus more on the creative aspects of weaving.
Comparison of Manual Cutting vs. Using Tools:
- Manual Cutting: While it offers flexibility in strip width and length, it often leads to inconsistencies and requires considerable time and effort.
- Using Tools: Provides consistent results with less effort, making it ideal for both beginners and seasoned crafters aiming for efficiency and precision.
Using a Strip Paper Shredder for Paper Weaving
A strip paper shredder can be a valuable asset in your paper weaving toolkit. Here’s what you need to know:
Overview: Strip paper shredders are designed to cut paper into long, narrow strips, which can be repurposed for weaving projects.
Features to Look For:
- Adjustable Strip Widths: Allows customization of strip sizes to suit different project requirements.
- Sharp Blades: Ensures clean cuts, reducing the risk of frayed edges.
- Durability: A robust machine will provide consistent performance over time.
How to Prepare Paper for Shredding:
- Select the paper type and color suitable for your project.
- Ensure the paper is free from staples or adhesives that could damage the shredder.
- Align the paper correctly to achieve uniform strips.
Pros and Cons:
- Pros: Quickly produces multiple strips; ideal for large-scale projects; offers uniformity.
- Cons: Limited to the preset strip width of the machine; may require investment in a quality shredder.
Using a Pasta Maker for Paper Weaving
Interestingly, a pasta maker can double as a paper strip cutter. Here’s how to utilize it:
Why Use a Pasta Maker: Pasta makers are equipped with rollers and cutters that can slice paper into consistent strips, similar to how they handle pasta dough.
Step-by-Step Guide:
- Choosing the Right Pasta Maker: Opt for a manual pasta maker with adjustable settings and clean rollers.
- Adjusting the Settings for Strip Thickness: Set the machine to the desired thickness, typically used for linguine or fettuccine.
- Safely Running Paper Through the Machine:
- Cut the paper to a width that fits the pasta maker.
- Feed the paper gently through the rollers, turning the handle steadily.
- Collect the strips as they emerge, ensuring they don’t overlap and stick together.
Tips for Maintaining Your Pasta Maker for Crafting Use:
- Clean the machine thoroughly after each use to prevent paper debris buildup.
- If you plan to use the pasta maker for both food and crafts, ensure it’s sanitized appropriately to avoid cross-contamination.
- Consider dedicating an old or separate pasta maker exclusively for crafting purposes.
By incorporating these tools into your paper weaving practice, you can enhance both the efficiency and quality of your projects, making the crafting experience even more enjoyable.
Comparison: Strip Paper Shredders vs. Pasta Makers
When it comes to preparing paper strips for weaving, both strip-cut paper shredders and pasta makers can be handy tools. Let’s compare them based on cost, ease of use, output quality, and versatility to help you decide which might be better suited for your crafting needs.
Cost Comparison
Strip-Cut Paper Shredders: These are generally affordable, with basic models suitable for crafting available at reasonable prices. High-end shredders with advanced features can be more expensive.
Pasta Makers: Manual pasta makers are also reasonably priced, often comparable to mid-range paper shredders. Electric pasta makers tend to be more expensive.
Ease of Use and Versatility
- Strip-Cut Paper Shredders: Designed to cut paper into long strips effortlessly, making them straightforward for paper preparation. However, they are primarily limited to shredding paper and similar materials.
- Pasta Makers: While intended for rolling and cutting pasta dough, they can be repurposed to cut paper strips for weaving. This dual functionality adds versatility, allowing use in both cooking and crafting. However, using a pasta maker for paper may require careful handling to avoid damaging the machine.
Output Quality and Strip Consistency
- Strip-Cut Paper Shredders: Produce uniform strips, ensuring consistency in width, which is beneficial for creating neat and even weaves. The width of the strips is determined by the shredder’s specifications and may not be adjustable.
- Pasta Makers: Allow for adjustable settings, enabling customization of strip thickness. With careful handling, they can produce consistent strips, though achieving uniformity may require practice.
Recommendations Based on Crafting Needs
- For Large-Scale Projects Requiring Uniform Strips: A strip-cut paper shredder is efficient and ensures consistent strip widths, making it suitable for extensive paper weaving tasks.
- For Smaller Projects or When Versatility is Desired: A pasta maker offers flexibility with adjustable thickness settings and can serve multiple purposes in both the kitchen and craft room. It’s ideal for crafters who value multifunctional tools and are working on smaller-scale projects.
If your primary focus is on paper weaving and you value speed and uniformity, a strip-cut paper shredder may be the more suitable choice. However, if you appreciate versatility and are willing to invest time in mastering the technique, a pasta maker can be a valuable tool in your crafting arsenal.
Additional Tools to Enhance Paper Weaving
Embarking on a paper weaving journey is both enjoyable and rewarding. To enhance your crafting experience, consider incorporating the following tools into your workspace:
Cutting Mats and Craft Knives
- Cutting Mats: A self-healing cutting mat provides a durable surface that protects your work area and prolongs the sharpness of your blades. It also features measurement guides to assist in precise cutting.
- Craft Knives: A sharp craft knife allows for clean, accurate cuts, essential for creating uniform paper strips. Opt for knives with comfortable grips and replaceable blades for extended use.
Rulers for Accurate Measurements
- Metal or Clear Acrylic Rulers: These are indispensable for measuring and guiding cuts. A non-slip backing can prevent shifting during use, ensuring precision.
Glue and Adhesives for Finishing Touches
- Glue Sticks: Ideal for lightweight paper, providing a mess-free application.
- Double-Sided Tape: Offers strong adhesion without the drying time of liquid glue.
- Liquid Craft Glue: Suitable for heavier paper or when a stronger bond is needed.
Other Creative Tools to Explore
- Paper Weaving Needles: Specialized flat needles with clips can hold paper strips, making the weaving process more manageable.
- Quilling Combs: Originally used for paper quilling, these combs can assist in creating evenly spaced, intricate weaving patterns.
- Bone Folders: Useful for creasing and folding paper, ensuring sharp, clean lines.
Incorporating these tools into your crafting routine can significantly enhance the quality and enjoyment of your paper weaving projects.
Tips and Tricks for Beginners in Paper Weaving
Starting with the right materials and techniques can make your introduction to paper weaving smooth and enjoyable. Here are some friendly tips to guide you:
Choosing the Right Type of Paper
- Weight and Thickness: Select medium-weight paper, such as construction paper or scrapbook paper, which is sturdy enough to handle weaving without tearing yet flexible enough to manipulate easily.
- Texture and Finish: Experiment with different textures—glossy, matte, or textured—to achieve varied visual effects in your projects.
- Color and Pattern: Mix and match solid colors with patterned paper to create dynamic and eye-catching designs.
Best Practices for Creating Clean and Even Weaves
- Consistent Strip Widths: Use a ruler and craft knife on a cutting mat to cut uniform strips, ensuring a neat and professional appearance.
- Secure the Base: Tape down the ends of your vertical (warp) strips to keep them in place as you weave horizontally (weft), maintaining alignment and tension.
- Maintain Tension: Apply gentle, even pressure while weaving to prevent buckling or gaps, resulting in a smooth, flat finished piece.
Creative Ideas to Incorporate Designs and Patterns
- Color Gradients: Arrange paper strips in gradient order to create a seamless transition of colors across your weave.
- Geometric Patterns: Alternate colors and strip widths to form geometric shapes like diamonds, chevrons, or zigzags within your weave.
- Mixed Media: Incorporate materials like ribbons, fabric strips, or natural elements (e.g., dried leaves) to add texture and interest to your project.
- Layering: Create depth by layering multiple weaves on top of each other or weaving smaller sections to be applied onto larger pieces.
Remember, practice makes perfect. Don’t hesitate to experiment with different materials and techniques to discover what works best for you. Happy weaving!
Inspiring Paper Weaving Projects
Exploring paper weaving opens up a world of creative possibilities. Here are some inspiring DIY projects to consider:
Decorative Items
- Wall Hangings: Craft vibrant wall art by weaving strips of colored or patterned paper into geometric designs. This technique adds a personalized touch to your home decor.
- Coasters: Create functional and decorative coasters by weaving paper strips into tight, small squares. Seal them with a clear varnish to enhance durability.
- Baskets: Design small baskets by weaving paper strips into a sturdy base and building up the sides. These baskets are perfect for holding lightweight items like dried flowers or stationery.
Functional Items
- Bookmarks: Weave thin strips of paper into intricate patterns to create unique bookmarks. They make thoughtful gifts for avid readers.
- Greeting Cards: Incorporate woven paper designs into the front of handmade cards for added texture and visual interest. This personal touch can make your cards stand out.
- Gift Wraps: Enhance your gift presentations by weaving paper ribbons into decorative wraps or toppers, adding an extra layer of charm to your presents.
These projects not only allow you to practice and refine your paper weaving skills but also result in beautiful, handmade items that can be used or gifted.
Conclusion
Utilizing tools like strip paper shredders and pasta makers can significantly enhance your paper weaving experience. These tools provide precision and efficiency, allowing you to focus more on the creative aspects of your projects.
We encourage you to experiment with both tools to determine which best suits your crafting style and needs. Your choice may vary depending on the specific requirements of each project.
We’d love to hear about your experiences and any tips you’ve discovered along the way. Please share your creations or tool recommendations in the comments below!